01
CNC machining
Metal and plastic components machined from stock. A route to assess for defined material grades, mating features, threads and critical dimensions.
Explore CNC machining ↗
From CAD to the next design decision
CNC, sheet metal, 3D printing, vacuum casting and prototype tooling. Choose the process around what your sample needs to prove.
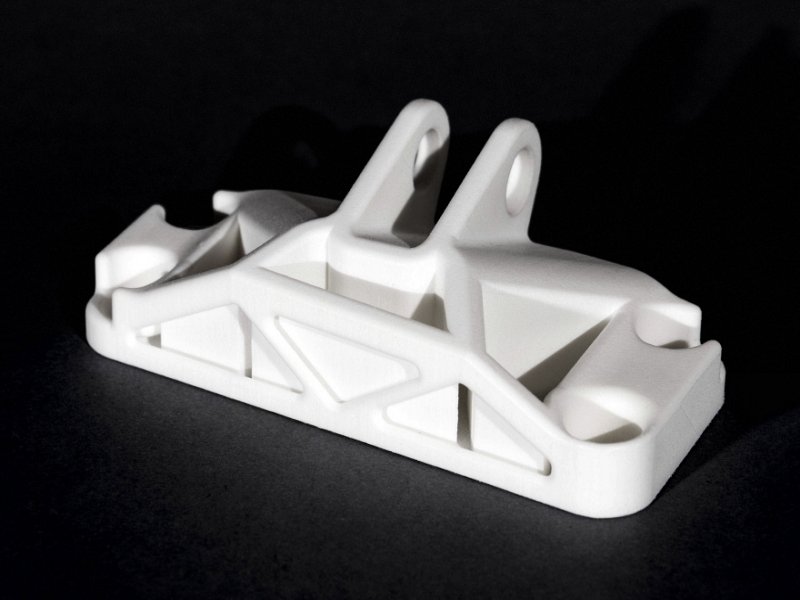
Start with the question
A presentation model, an assembly sample and a loaded test part ask different things of the material and process. Choose a starting point, then bring the critical requirements into the review.
A useful starting point
Consider 3D printing for an early model, or vacuum casting when several samples need a consistent cosmetic finish. Mark visible faces, color, texture and transparency so the material and finishing route can be reviewed.
Five routes. One engineering brief.
Geometry, material fidelity, surface quality and likely design changes shape the manufacturing route. CNC and sheet metal remain part of the same prototyping conversation.

Share the first quantity and the likely next run. A sample for appearance review may use a different material or process from the part intended for service.
Compare the trade-offs ↓Metal and plastic components machined from stock. A route to assess for defined material grades, mating features, threads and critical dimensions.
Explore CNC machining ↗Enclosures, panels and brackets built around cutting, bending and joining. Review the assembled condition, hardware and finishing together.
Explore sheet metal ↗Models and complex shapes made through an additive route. Select the process and exact material around surface detail, geometry and test conditions.
Explore 3D printing ↗Repeated PU resin parts made from a master and silicone mold. Consider the route for cosmetic samples and small runs with an agreed appearance.
Explore vacuum casting →Prototype mold tooling for molded samples and short-run requirements. Compare tooling investment, production resin, sample approval and expected repeats.
Explore rapid tooling ↗Compare before you commit
Use these differences to frame the discussion. The drawing, quantity and intended test establish the project-specific recommendation.
| Process | Useful when | Material & test considerations | Tooling & design changes |
|---|---|---|---|
| CNC machining | Defined interfaces and machined geometry govern the test | Specify stock grade, condition and final surface | Review access, setups and changes to geometry |
| Sheet metal | The sample is a panel, formed part or enclosure | Specify sheet grade, thickness and assembled condition | Review bends, joining and any dedicated tools |
| 3D printing | Iteration or complex geometry is the priority | Properties depend on process, material and orientation | No dedicated cavity mold; support and finish still matter |
| Vacuum casting | Several similar cosmetic or assembly samples are needed | PU resin can simulate selected thermoplastic properties | Master and silicone mold reproduce an approved revision |
| Rapid tooling | Molded parts and the specified resin must be assessed | Confirm the actual molding material and trial conditions | Separate tool investment, sample approval and repeat pricing |
Material fidelity
An appearance match, a fit check and a service-life test need different evidence. Include temperature, loading, fluids and test duration when performance matters.
Stock & molding materials
CNC stock, sheet materials and molding resins have their own supply conditions. Identify the grade and the properties the sample needs to represent.
Cast polyurethane
ABS-like and PP-like describe selected similarities. Choose the exact PU resin against the relevant tests and data sheet.
Additive materials
Orientation, cure, porosity and post-processing can influence the result. Evaluate the complete process-material combination.
Look at the features
These component and process references show the kinds of geometry worth discussing. Identify the features and acceptance criteria that matter for your own part.
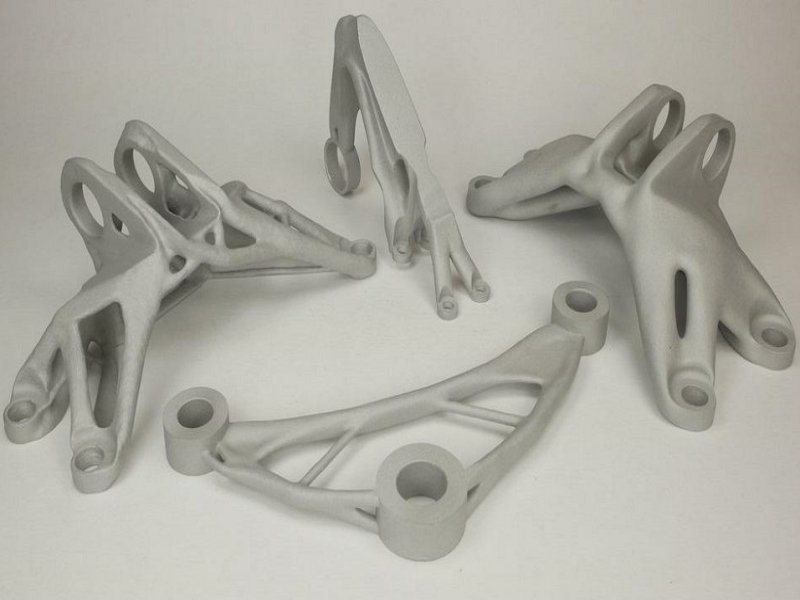
Define the fit, datums and material condition around holes, pockets and mating surfaces.
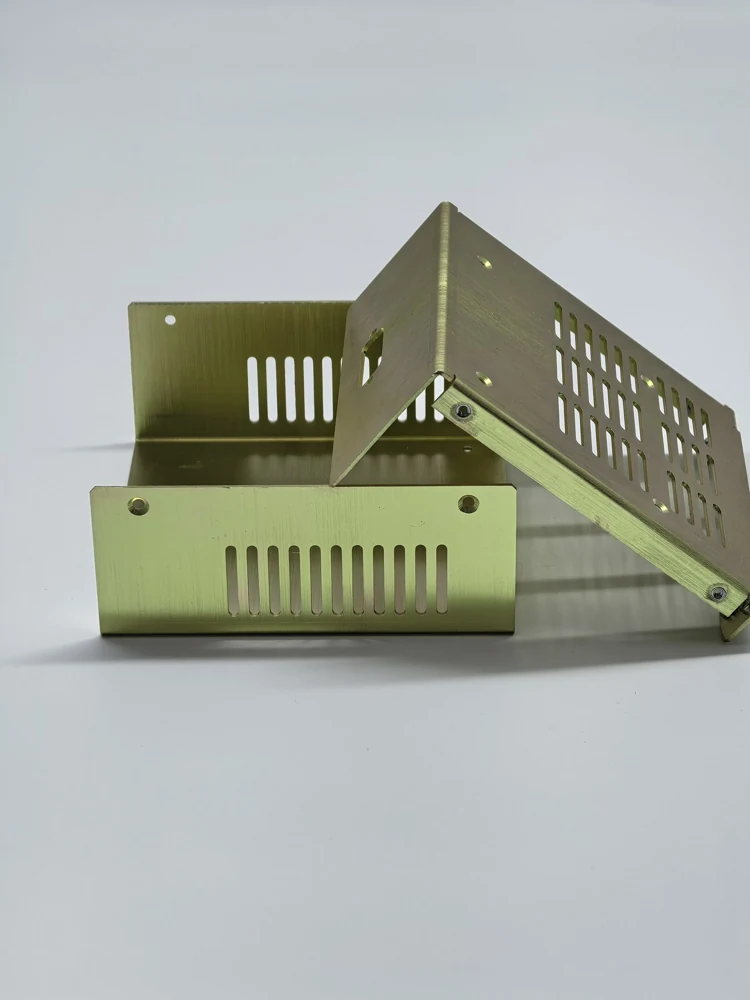
Bring the enclosure, mounting hardware and finished dimensions into the same review.
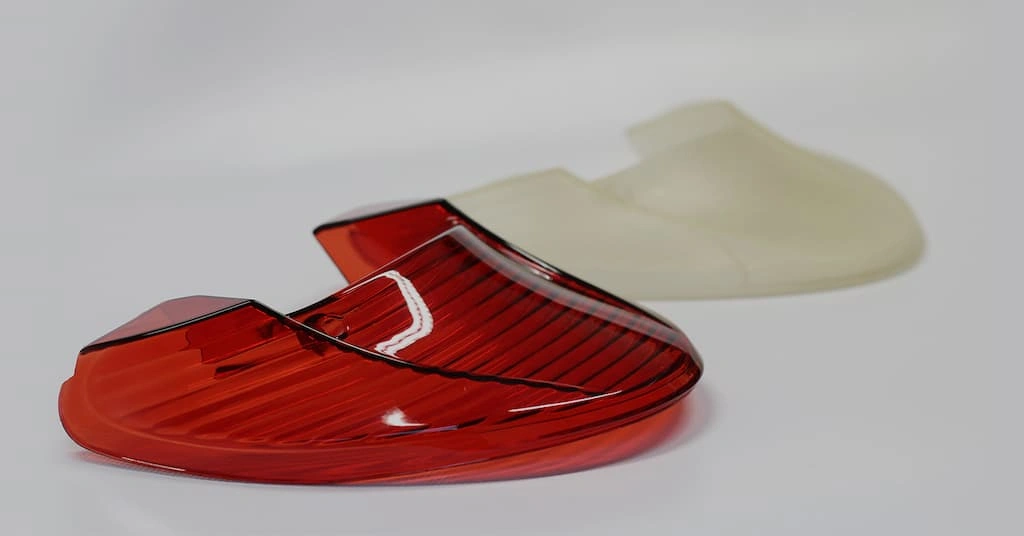
Agree clarity, color, texture and the faces that govern the appearance sample.
From drawing to a useful sample
Tell us what the part needs to prove and what happens next. Engineering review establishes the route, scope, price and schedule before production is approved.
Send the CAD, drawing revision, intended tests, material requirements and quantity breaks.
Resolve geometry, materials, finishing and any trade-offs before confirming the quotation.
Identify critical dimensions, appearance references and any sample or inspection approval.
Record design changes and test findings before choosing a repeat or production route.
Quality & documentation
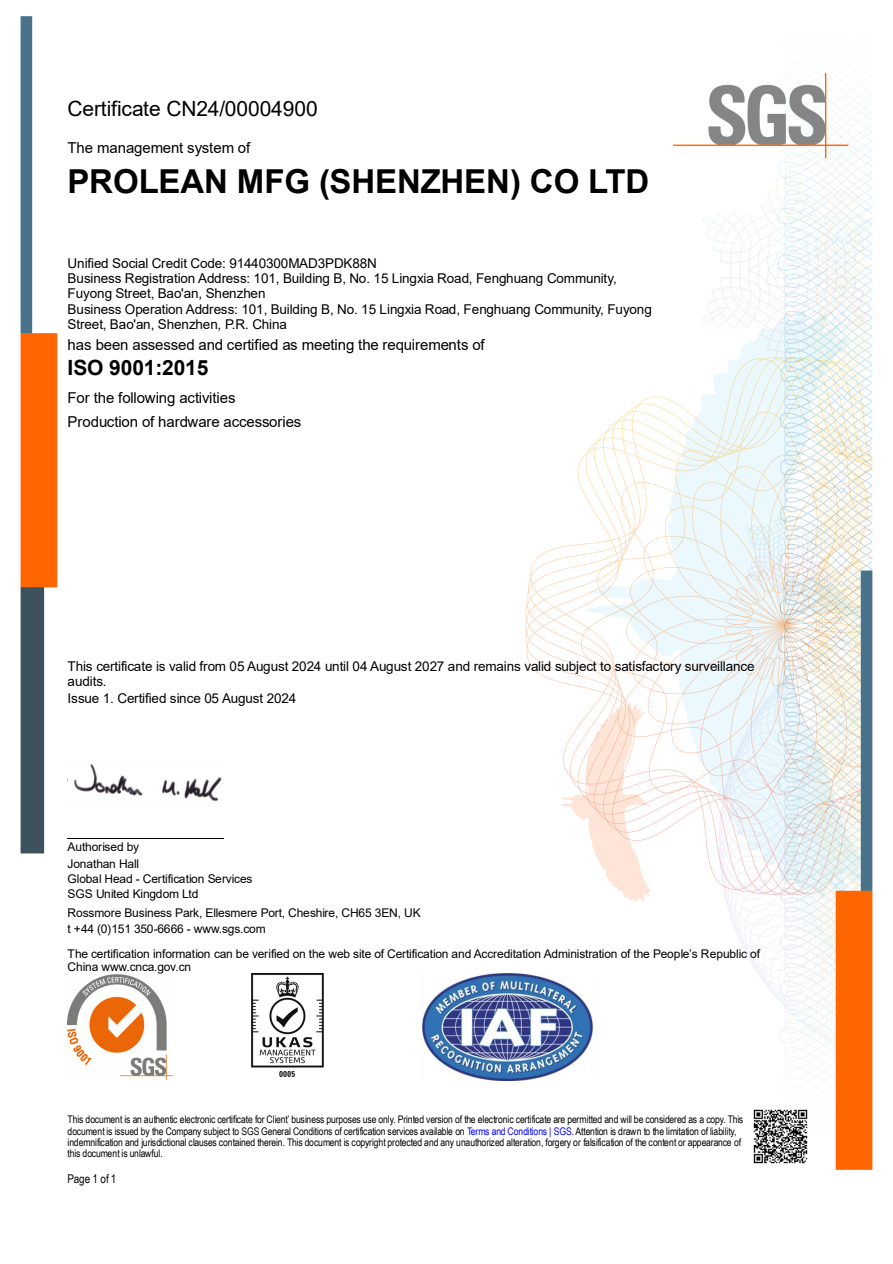
State which features need checking and which documents the project requires. Application-specific qualification, traceability and testing need an agreed scope.
Before the first sample
Start with what you know. Include the requirements that could change the process or the way the sample is accepted.